Copyright © Thomas Fetter
2014-2026

In preparation for my Level 3 design, I needed make a plug for a mold to make a 6 inch diameter fiberglass nosecone. Remembering an article written by Brad Vatsass in Extreme Rocketry magazine, using a foam core with a fiberglass overlay seemed like a good method. This method uses Masonite templates to guide a hot wire cutter to cut the foam to shape.
The original article was in the April 2003 issue (#26) of Extreme Rocketry magazine. In it, Brad described a method of making a foam core body for a science fiction styled rocket called Black. In the July and August 2003 issues (#28 & 29), he detailed the design for the foam cutting fixture using Masonite templates to guide a hot wire cutter. The foam cutter creates a faceted surface, the more cuts, the smoother the surface, which is eventually sanded smooth after fiberglassing.
Then, in the March 2004 issue (#34), Brad documented a design for a lathe like tube sander for sanding large diameter fiberglassed tubes. For my foam cutting fixture, it made sense to combine the foam cutter with the tube sander in one machine that could do both. With it, I could both cut and sand the foam core using the same templates, thereby creating a very accurate plug, while requireing fewer cuts with the hot wire.
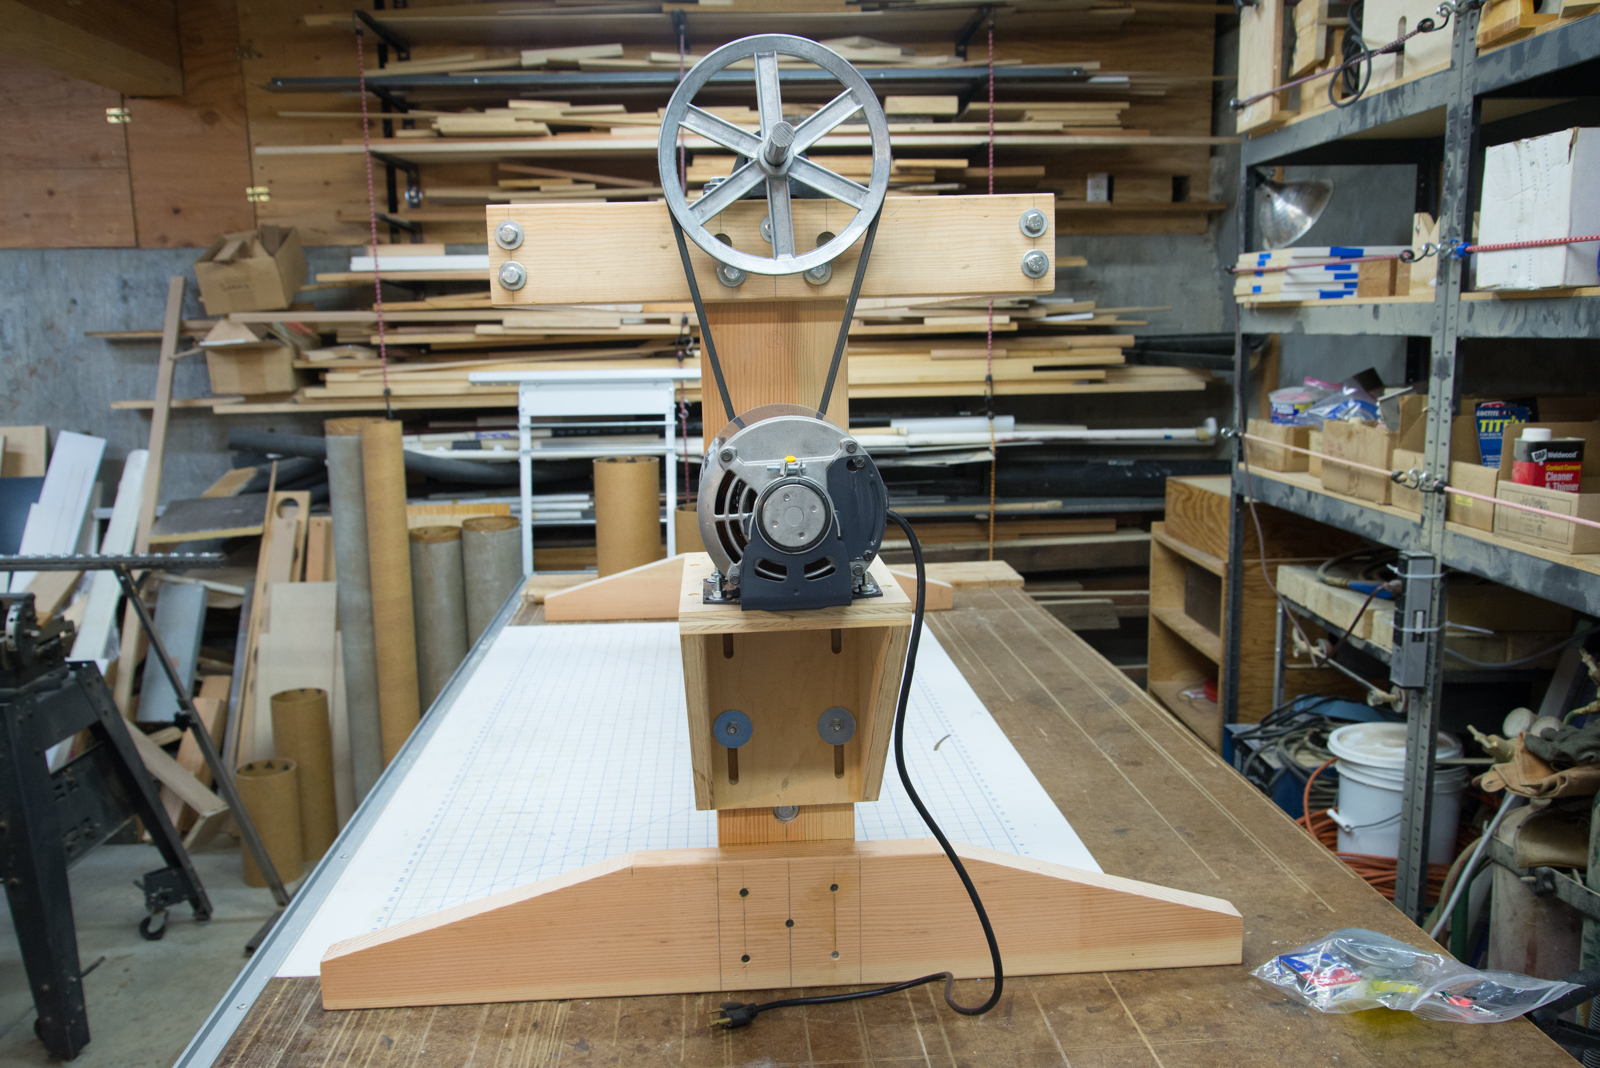
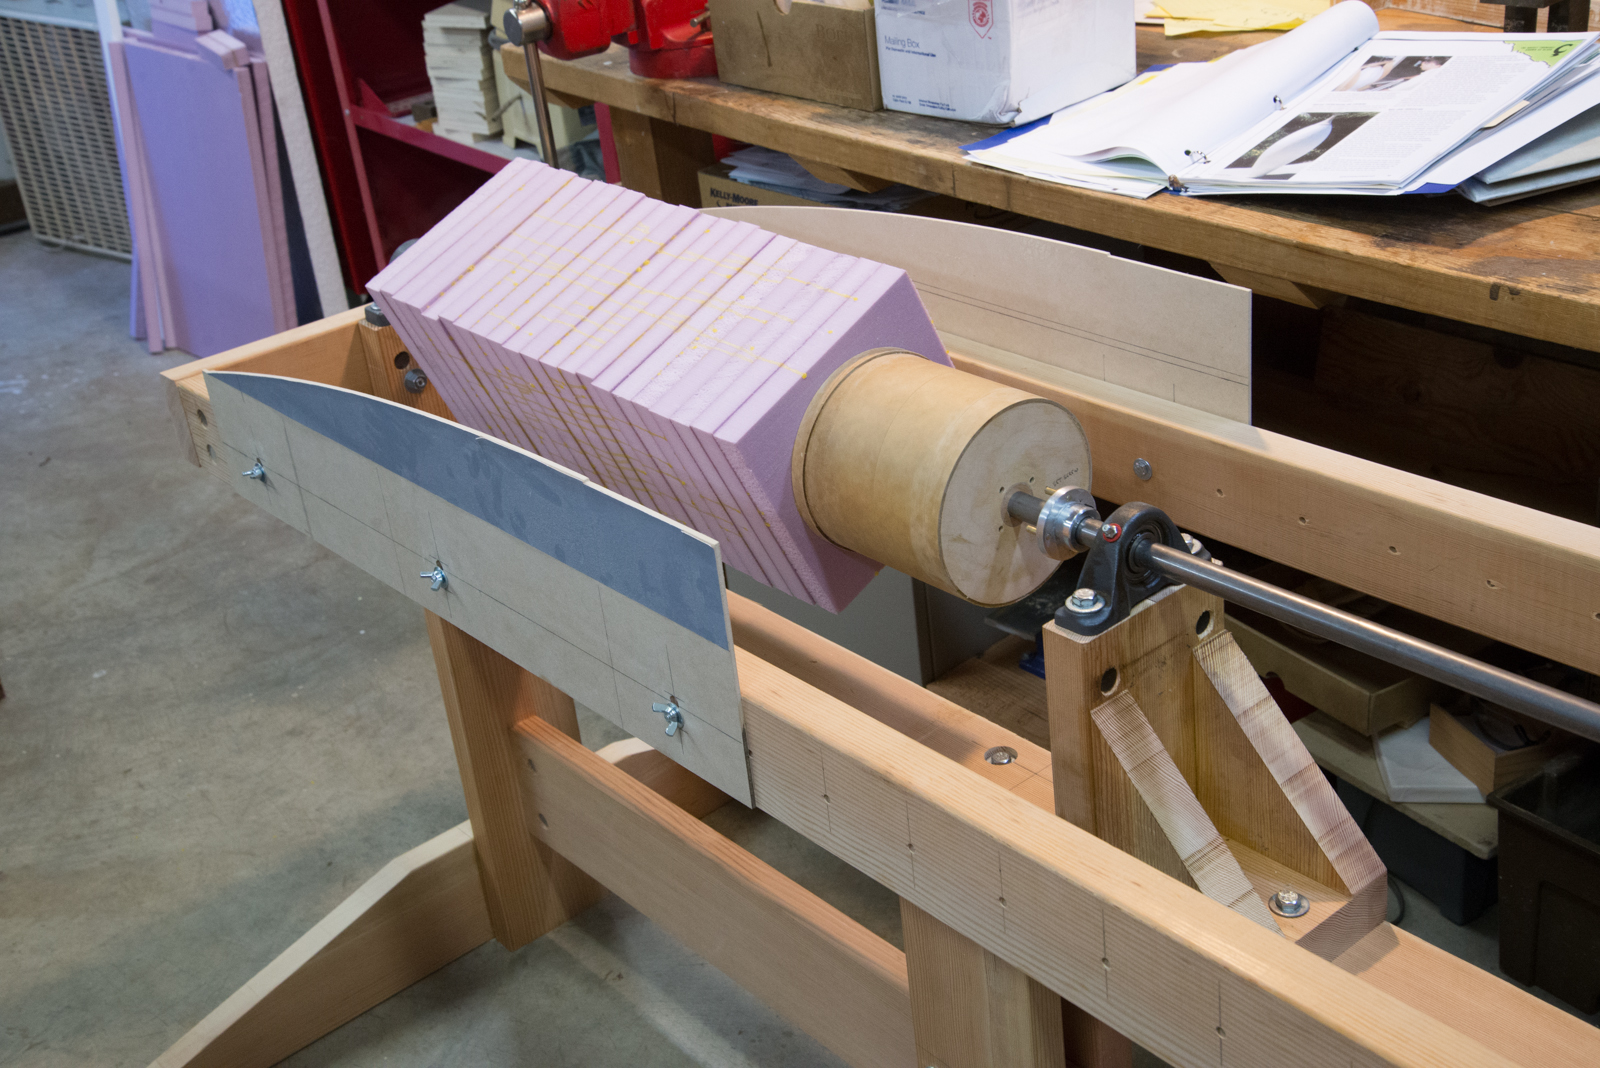
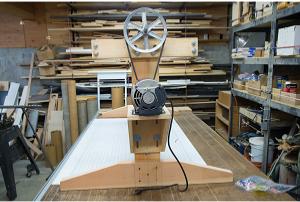
The motor is a 1/4 hp, 1725 rpm motor. The large pulley is 8 inch, available from McMaster-Carr. I have a range of small pulleys for the motor, starting with 1 1/2 inch. I found the 2 inch pulley, which results in approximately a 431 rpm shaft speed, worked well for the 6 inch diameter nosecone sanding. Note the motor mount can slide up and down to accommodate tensioning the belt. The bolts are tightened after setting the position for proper tension.
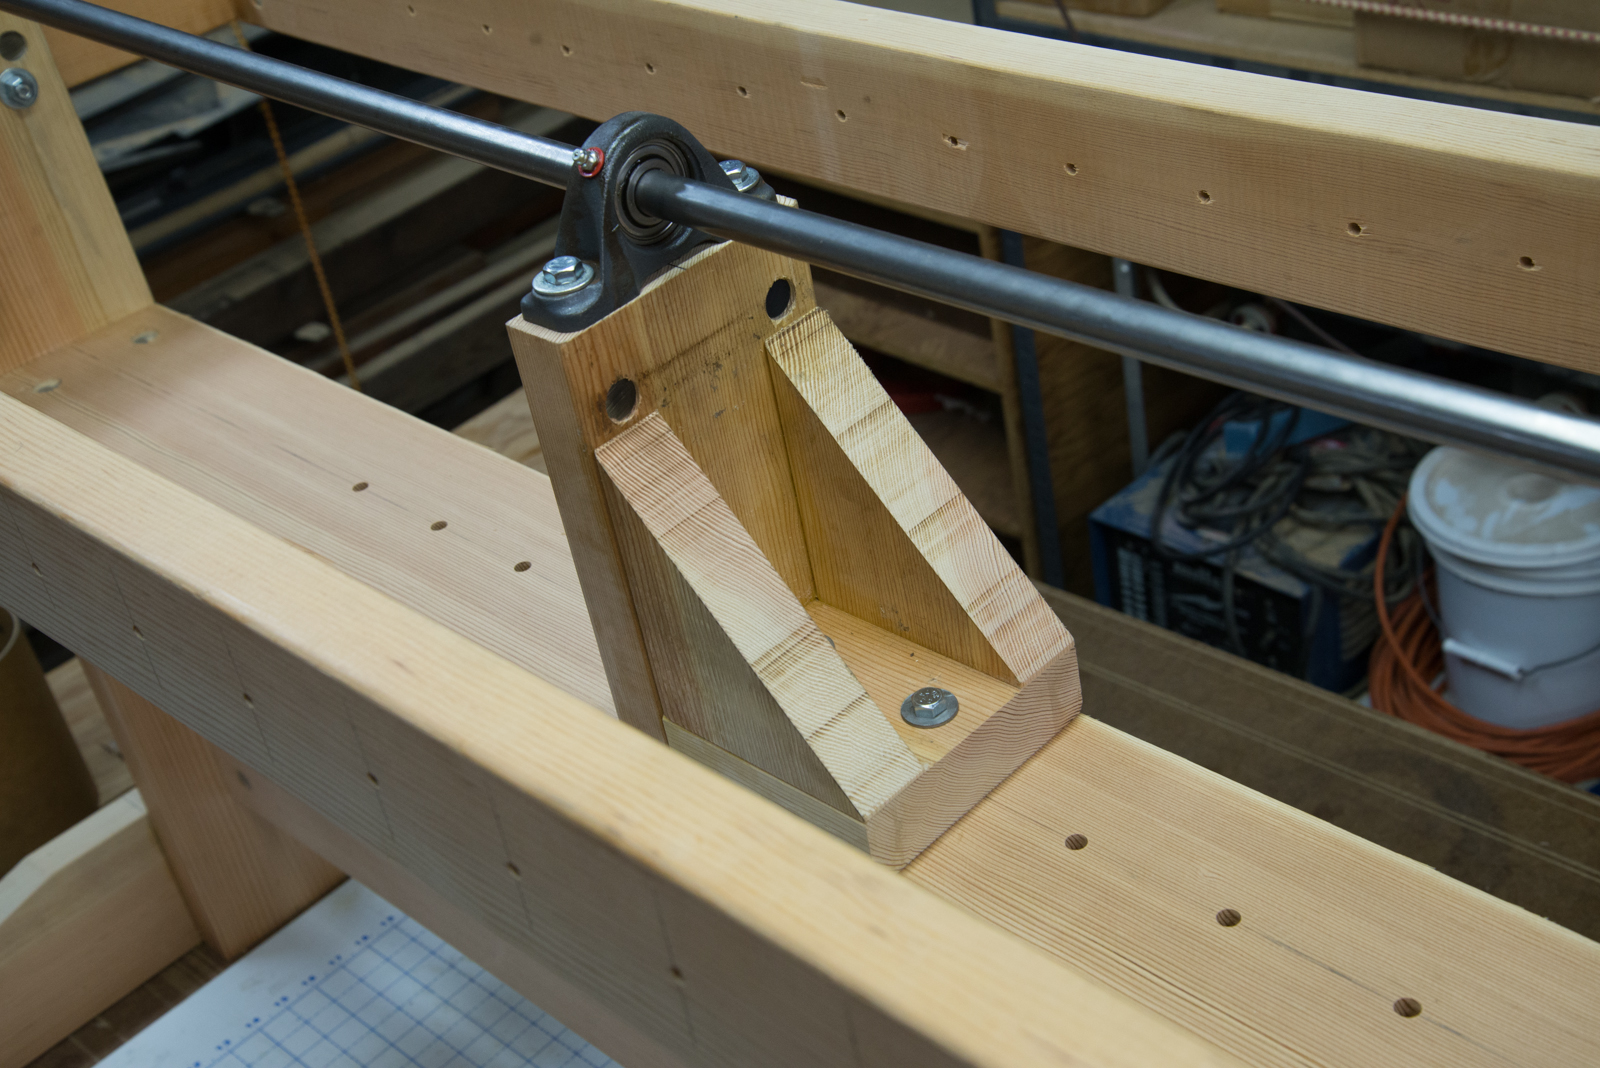
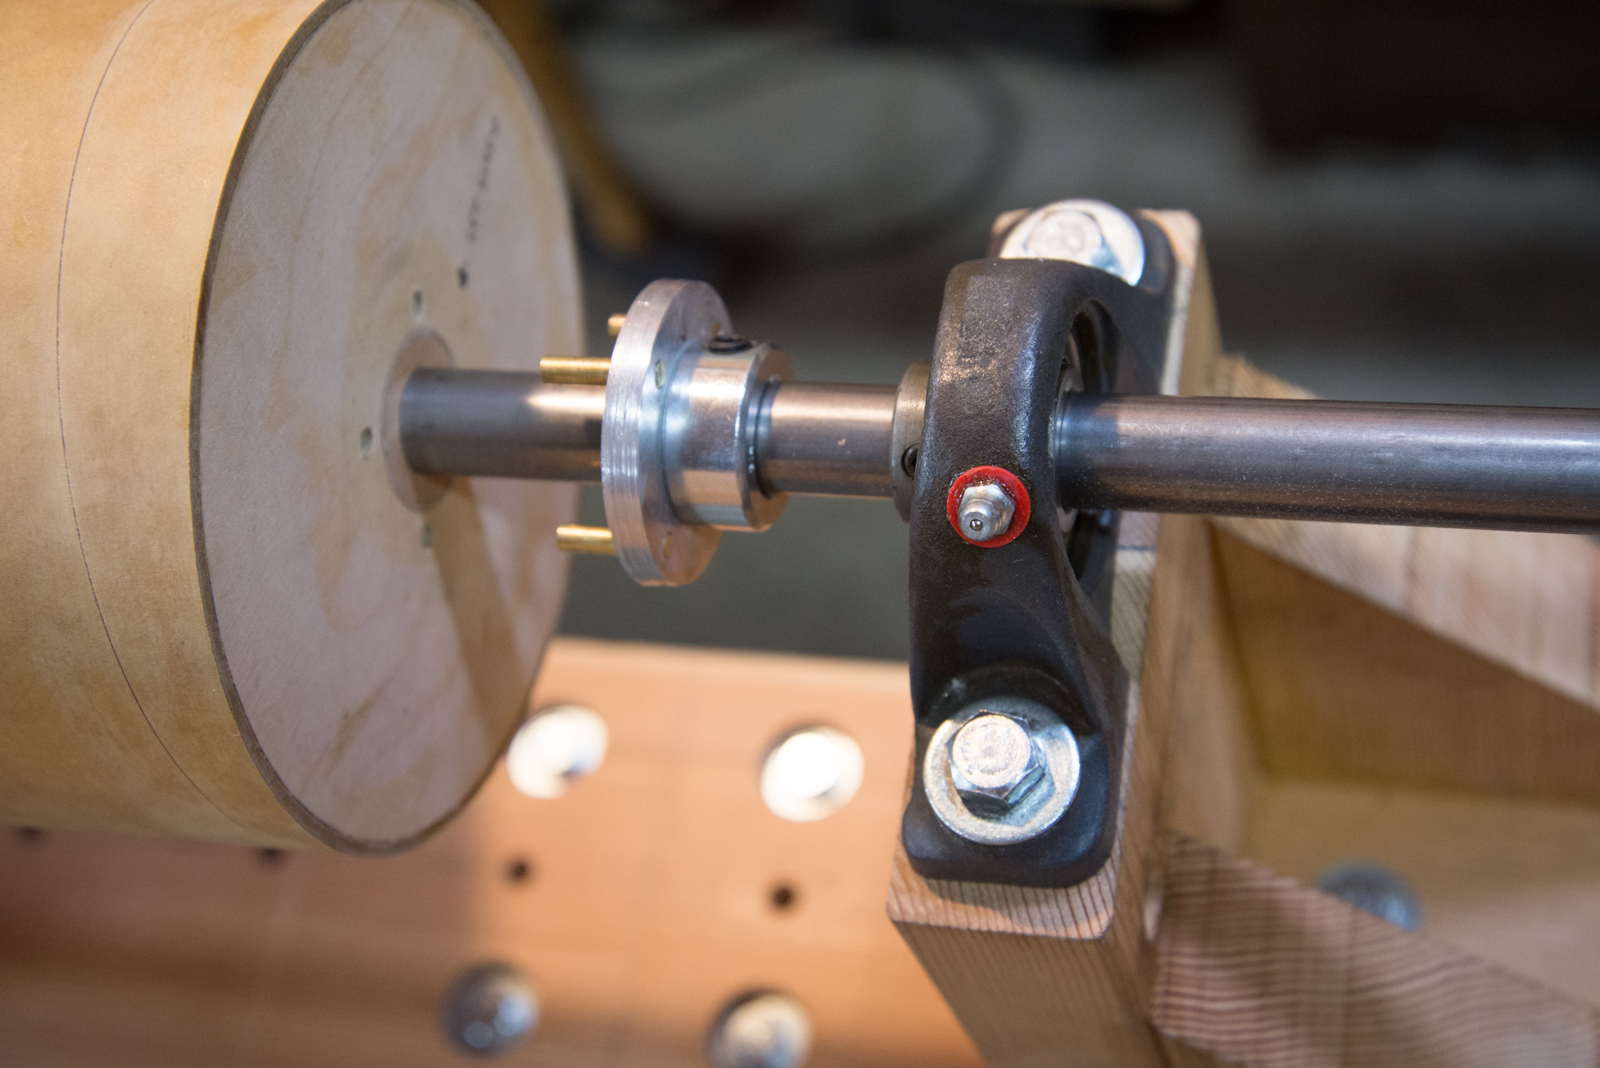
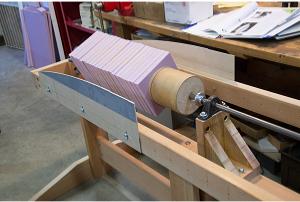
This adjustable intermediate tail-stock is set just behind the project to provide support and reduce vibration.
This is the template blank, before cutting, with the desired pattern glued on. I use 3M 6094 Photo Mount spray adhesive. The nosecone pattern has been printed from RockSim. After cutting and sanding, the templates are bolted onto the frame. I first bolt the two templates together and then cut and sand them at the same time.
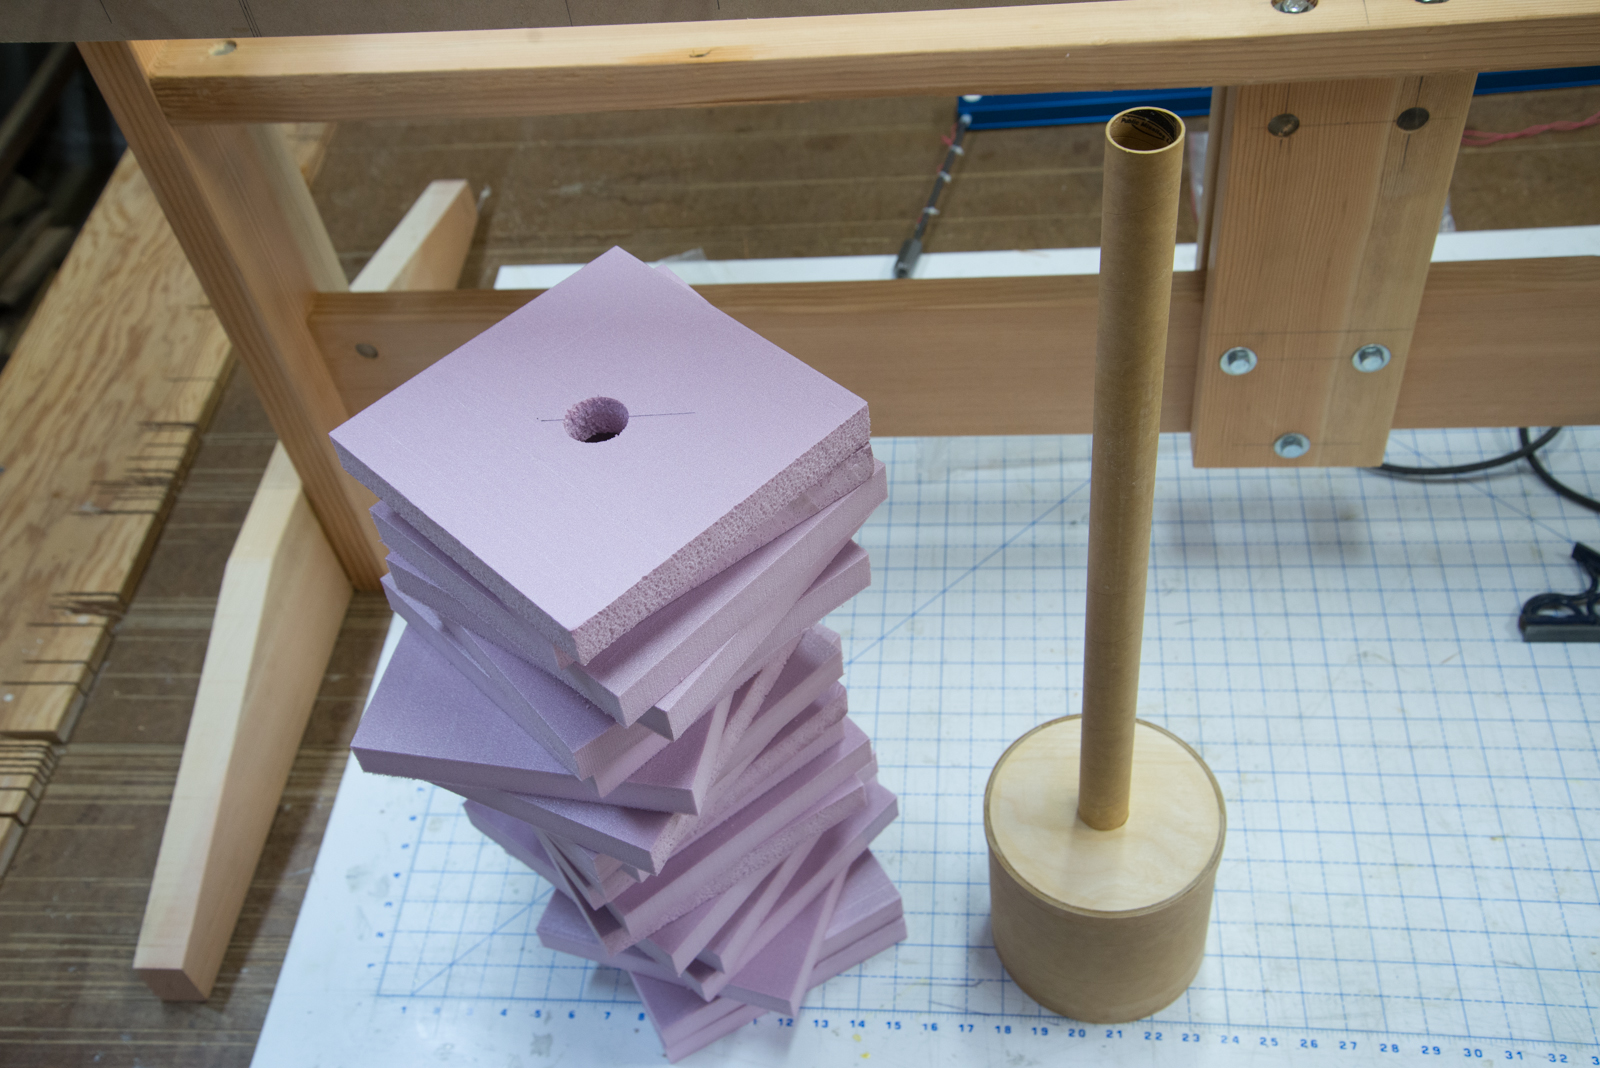
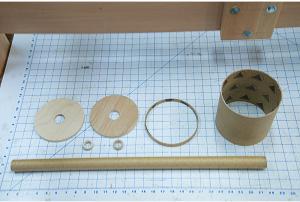
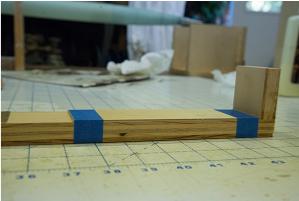
Here are the parts that make up the base core of the foam plug. The long length of 6 inch coupling tubing will be the shoulder. The thin slice of 6 inch tubing is used to accurately establish the proper outer diameter of the nosecone plug. The two large centering rings center the shoulder tube on the 29 mm core tube, and the two small centering rings are glued inside the 29 mm tube to center it on the 3/4 inch lathe rod.
Here is the stack of 1 inch thick foam that will be glued up to form the core blank. The foam is Owens-Corning Formular 150 1" house insulation. This is a little denser than the white Styrofoam insulation, and Home Depot sells it in sheets that are smaller than 4'x8', making it easier to transport. It alos cuts well wit a hot wire.
I cut the foam into squares on the table saw. Then I drilled a 1" hole in the center of each with a Forstner bit.
The core tubes have been assembled, minus the small centering rings to mount to the 3/4 inch lathe rod.
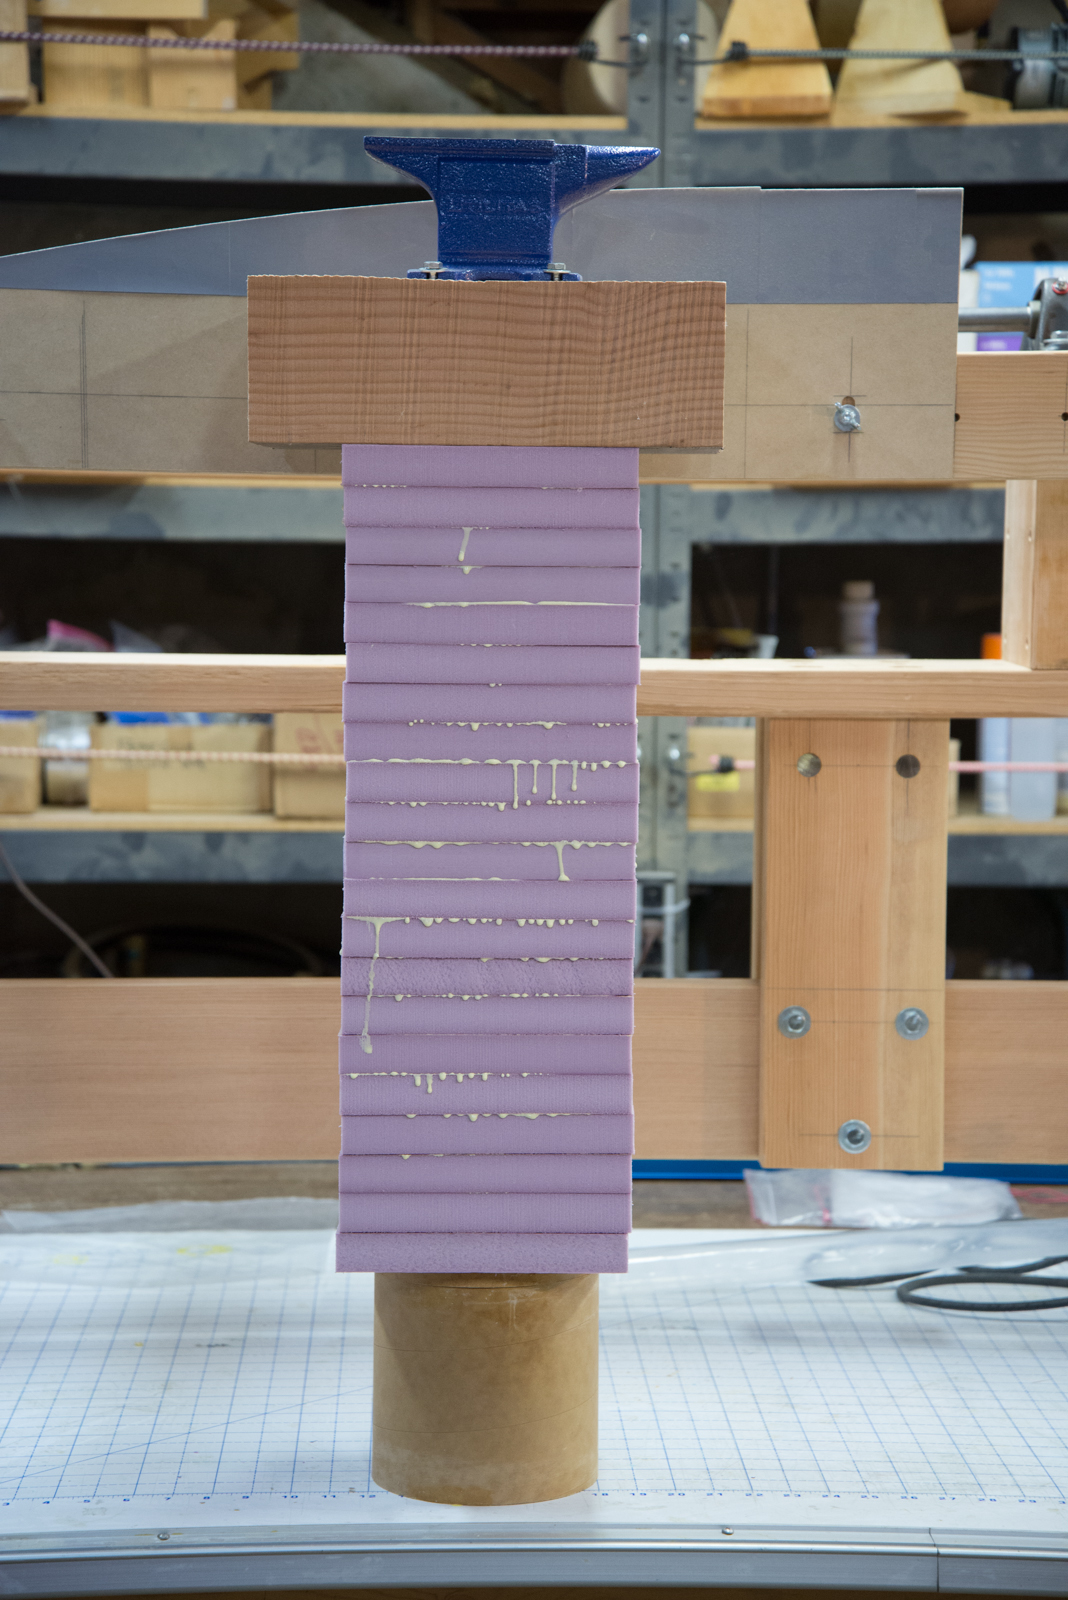
The foam has been glued onto the 29 mm core tube. I used yellow woodworking glue. It worked, but next time I'll try something different. When I hot-wired the stack, the hot wire stalled at little at each glue seam. The result was fine, but it was a little anoying. After gluing, I place a weight on top.
To engage the blank with the lathe rod, I made a flange from aluminum with four brass threaded pins screwed into it. This was then screwed to a bushing that has a set screw. the four pins engage with four holes drilled into the blank's bulkhead.
Note, the intermediate tailstock has been set close to the end of the work.


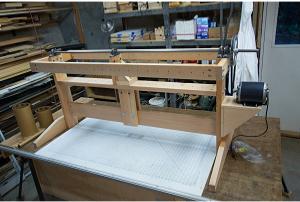
Here is the resulting design. The foam core is mounted on the 3/4 in steel rod, which can be incremented free hand,or spun by the motor. The rod is mounted in ball bearing pillow blocks that I had found a long time ago at a surplus store and were just waiting for the perfect project. I used two blocks at the motor end because it seemed to help dampen the vibration in the rod. The main members of the lathe are 2x6's for rigidity. The 2x4 frame around the top, with the holes drilled along its length, supports the Masonite templates. The whole lathe is bolted together using 1/2 inch bolts (there are 28 of them!) that are threaded into 3/4 inch rod nuts that I made by hand as could not find them commercially.
The templates are attached to the frame. Each template is adjusted up/down until the back end aligns with the coupler tube, and the front end aligns with a mark I've made on the template that corresponds to a diameter just back from the tip of 29 mm. I cut slots in the Masonite templates to allow vertical alignment.
Note, the intermediate tailstock has been set close to the end of the work to provide support.
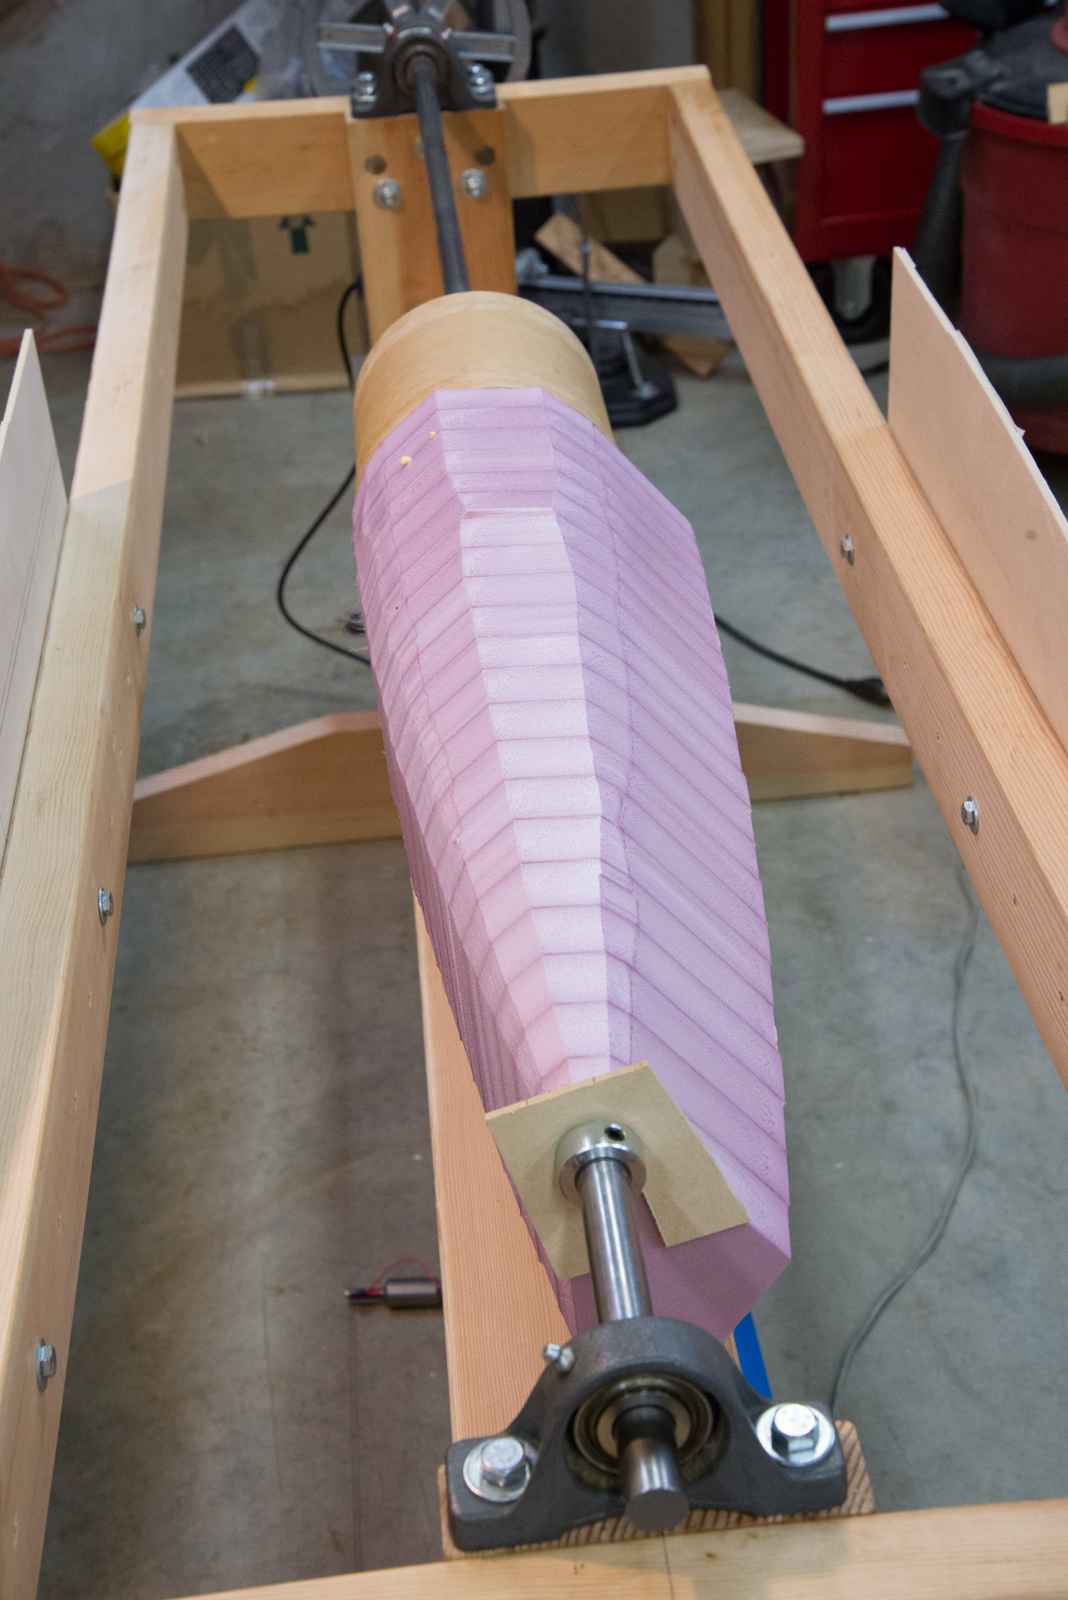
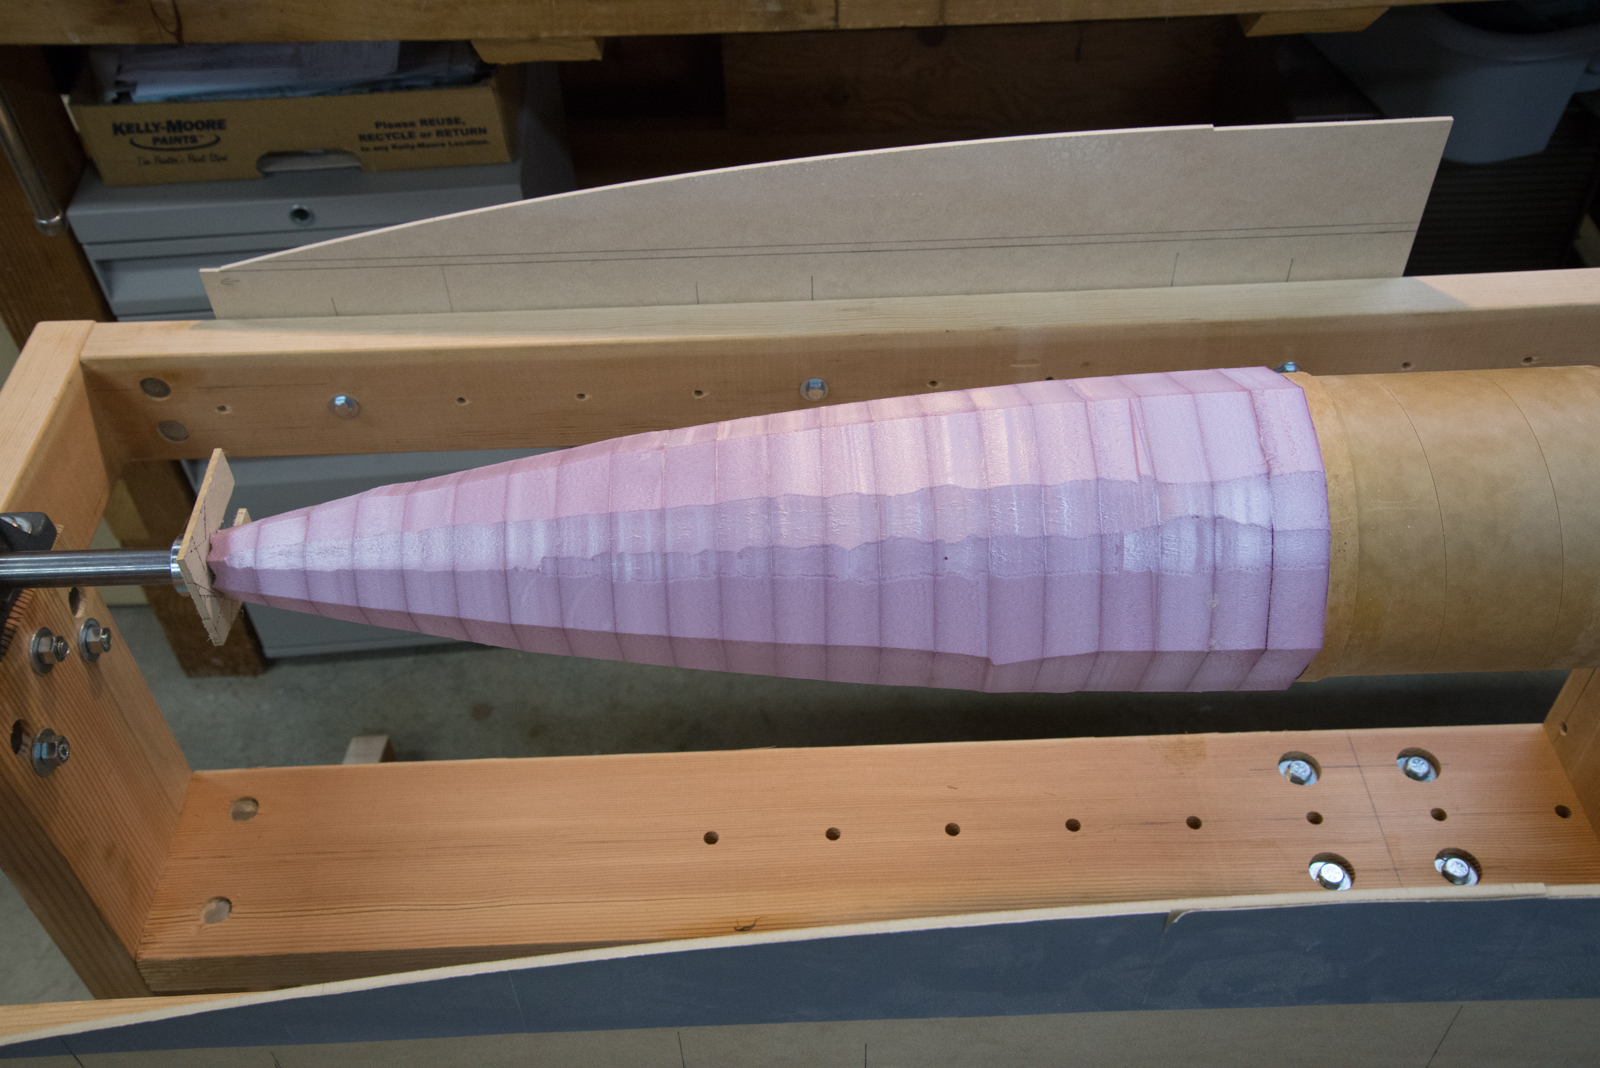
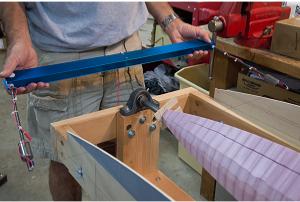
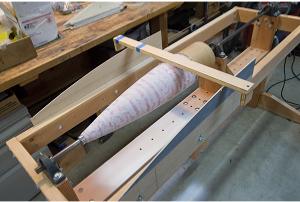
The hot wire bow saw is then used to cut away most of the excess foam. It is simply guided down the templates. After each cut, the blank is rotated by hand a small increment, and another cut is made.
Progress! The facets do not need to be very fine, sanding is easy.
Note I added another bushing and a piece of thin plywood to the front of the blank to prevent it from sliding forward during the cutting process. After cutting, I removed the plywood and left just the bushing.
The plywood kept the foam from separating as I cut as the glue was not entirely dry. The glue needs exposure to the air to dry, and the foam is very good a preventing air from getting to the glue away from the edge. Once cut, the glue at the fresh edge dried quickly.
The cuts are complete.
After completing these cuts, I realized I should have cut in the opposite direction from the tip to the shoulder. The hot wire bows a little during the cut, even when going slowly. As a result, the center of the wire is always a little behind the the edges of the wire that are riding on the template, so that in the vertical plane, the cut is a little lower than it should be. If the cut had been made in the opposite direction, the cut would always have been a little larger in diameter than the template, which would then be removed in the sanding step.
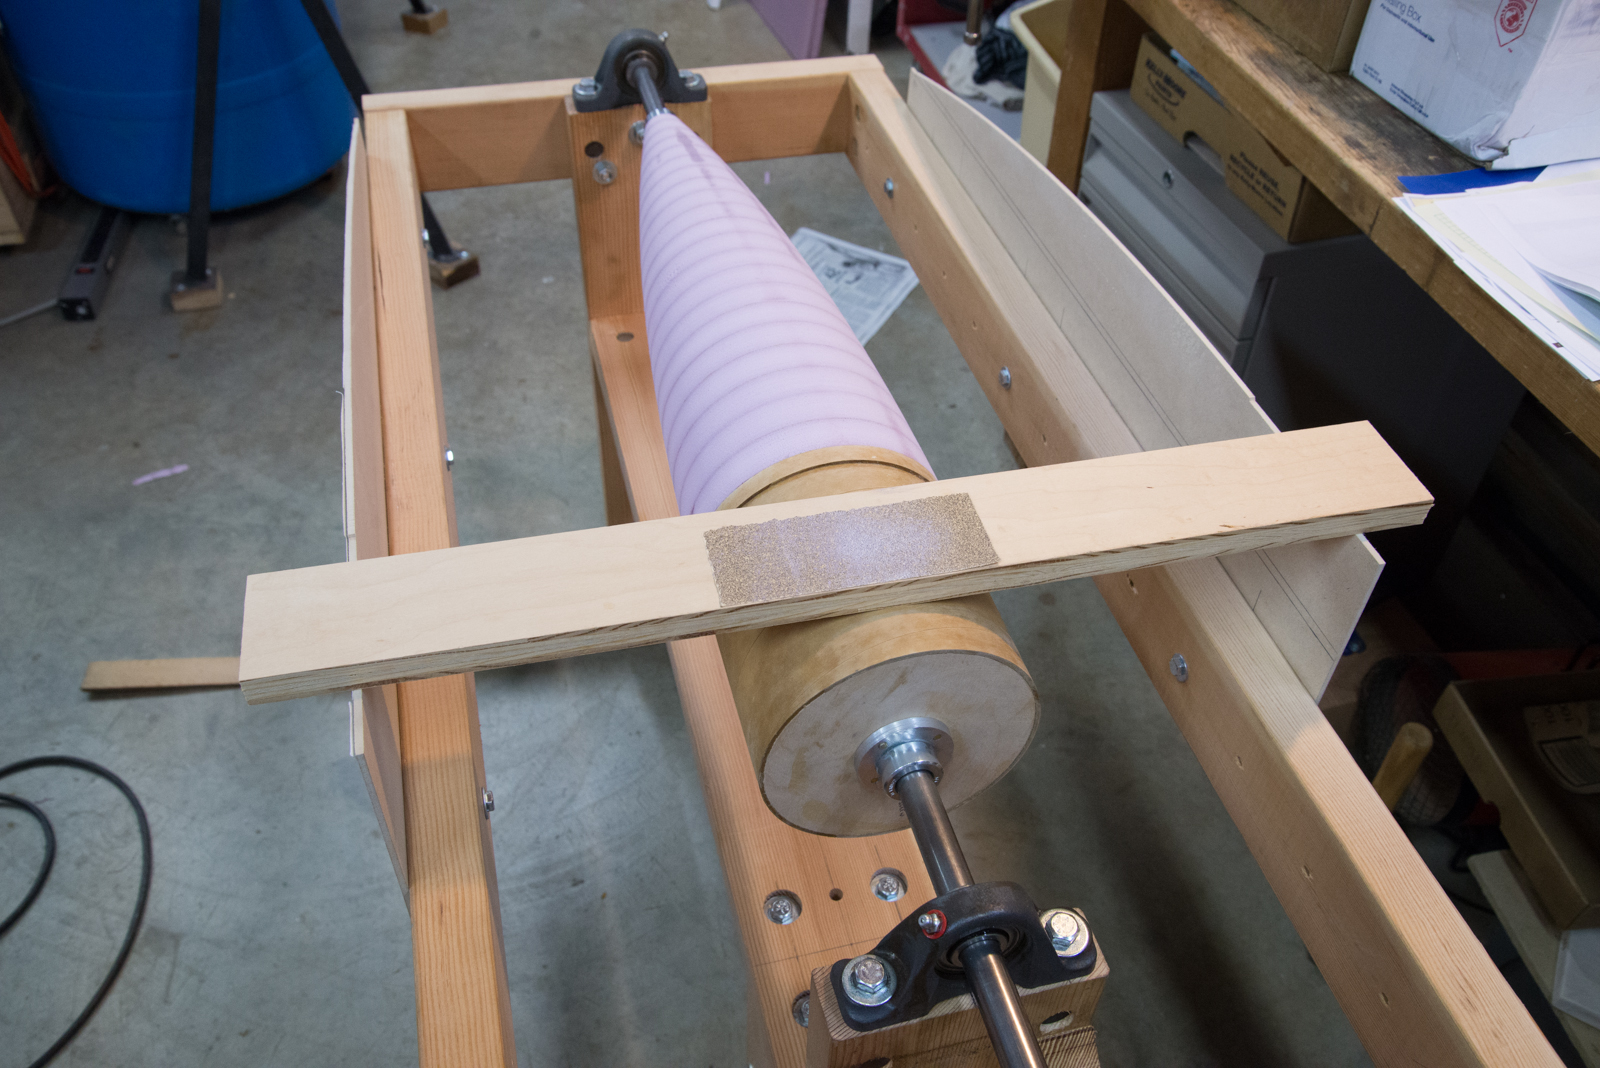
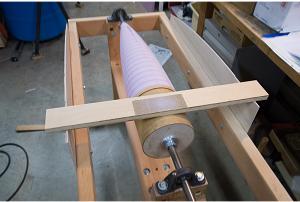
Sanding is done by attaching a piece of sanding paper to a piece of wood wide enough to span to the templates. I use 3M 6094 Photo Mount spray adhesive. The motor is turned on, and a light touch is applied to the sanding board. The sanding goes very quickly with 50 grit paper.
The beauty of having one machine for both the hot wire cutting and the sanding is the ability to use the templates for both operation without taking the work out of the machine and without having to do any re-alignment of the work with the templates.
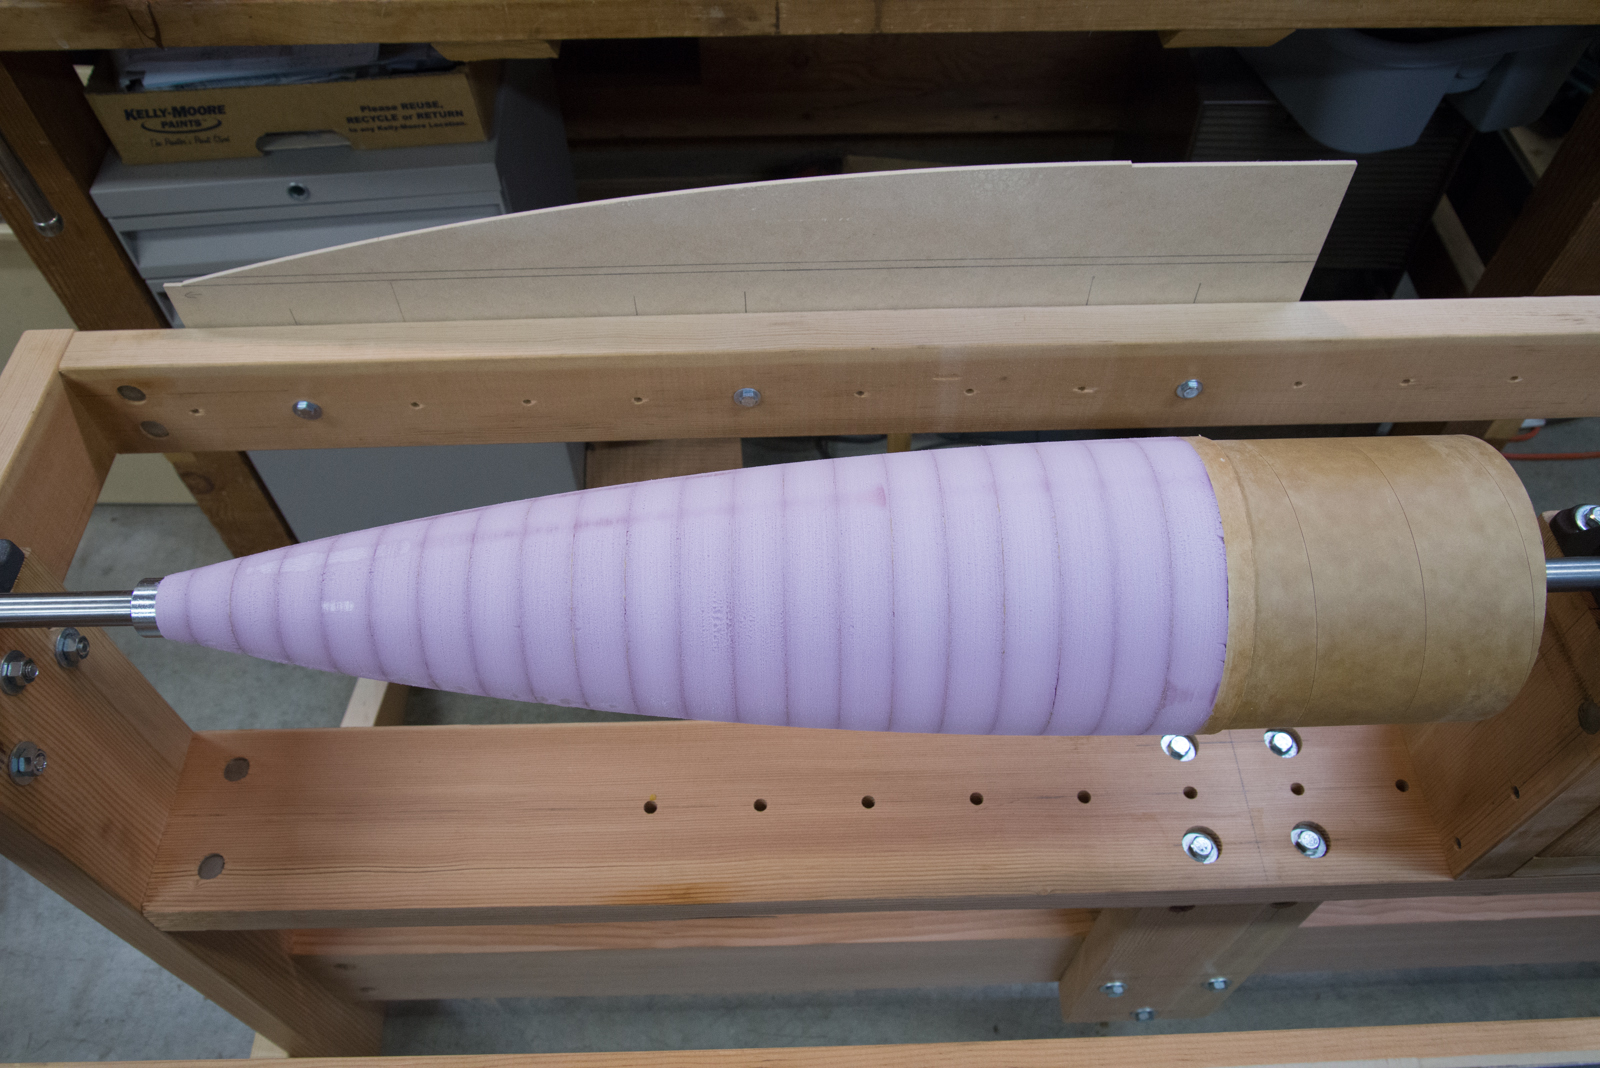
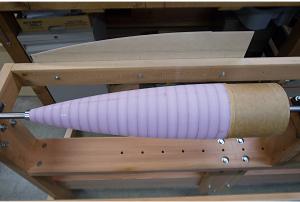
The sanding has been completed with great results!
There are a few minor low spots from cutting in the wrong direction (darker line in this photo), but these will be taken care of in the fiberglassing process.
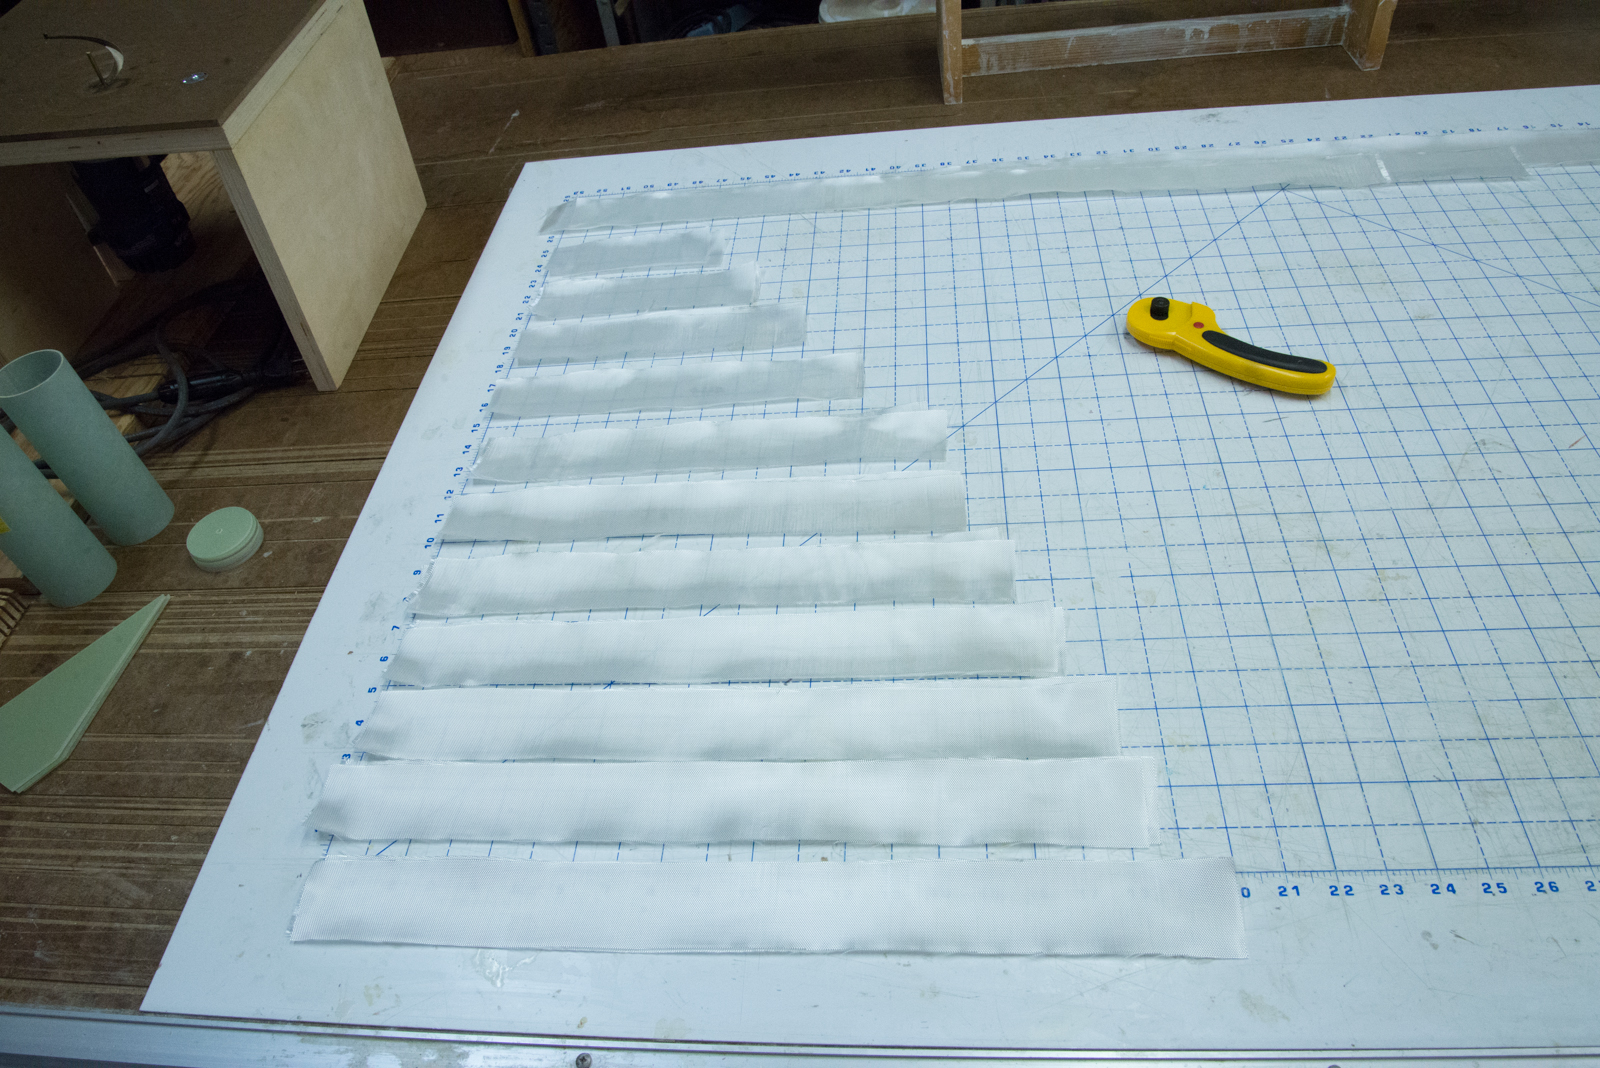
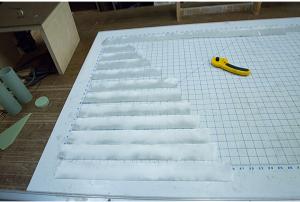
The fiberglass cloth is cut into 2 inch strips, each just long enough to wrap around the nosecone once at its position on the cone. I used 6 oz tight weave cloth.
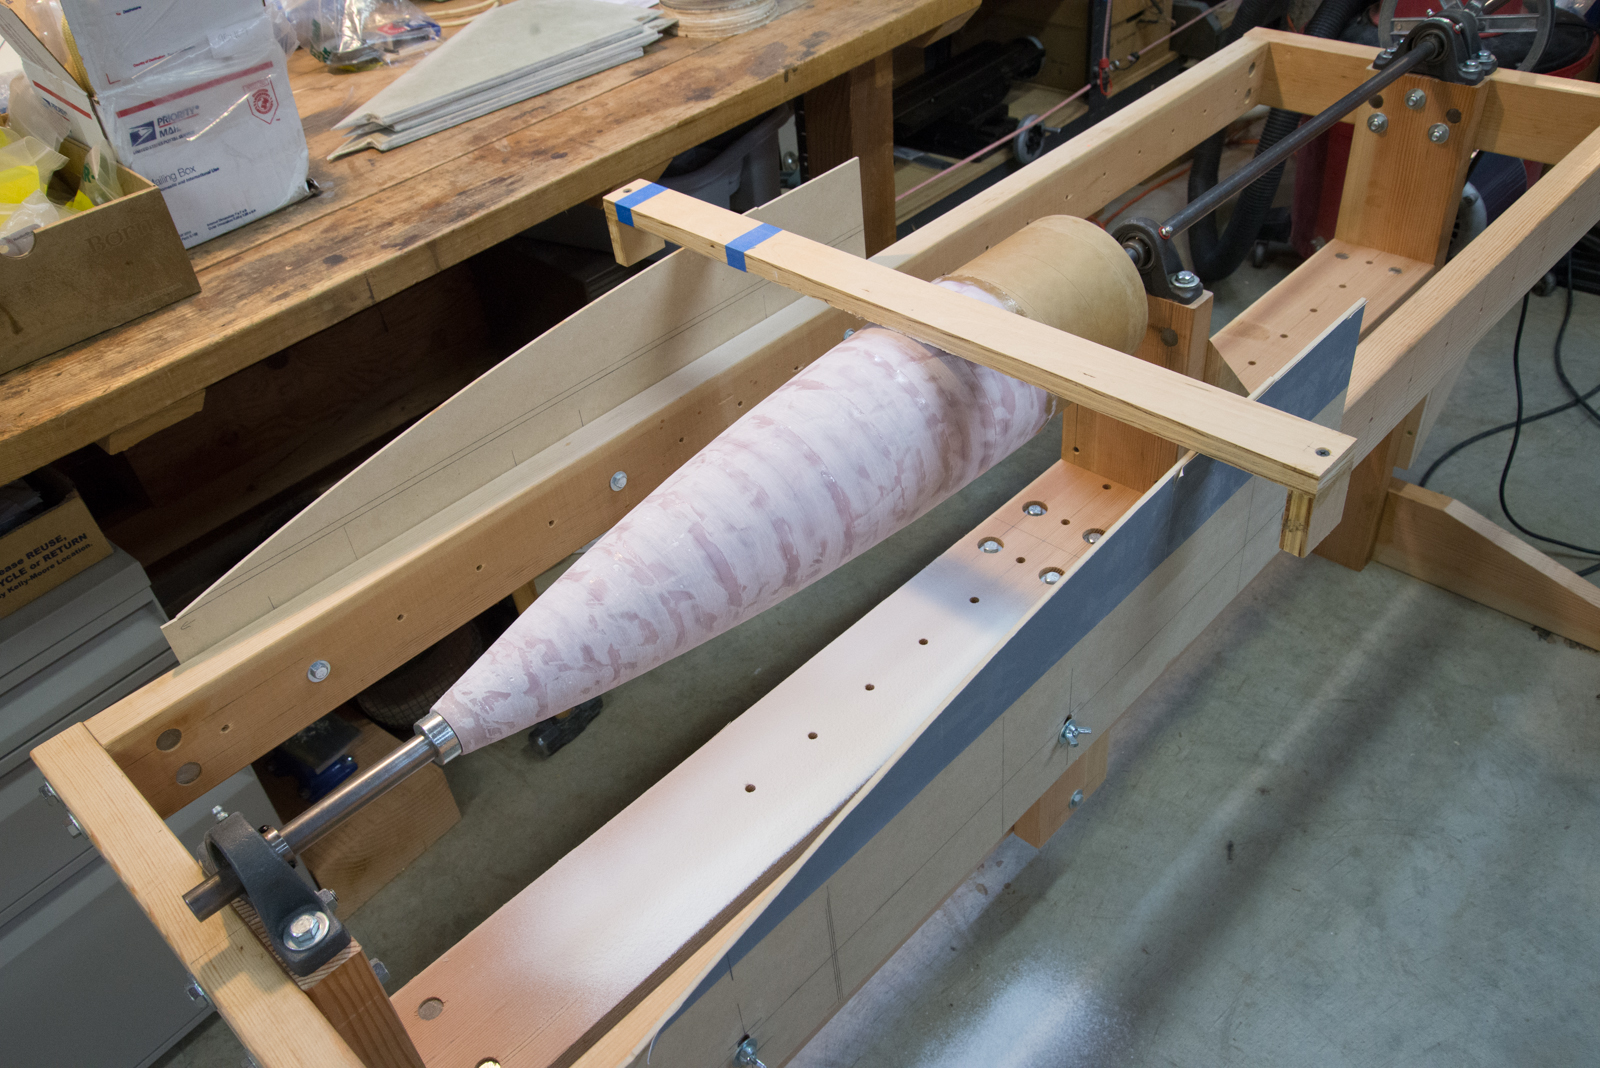
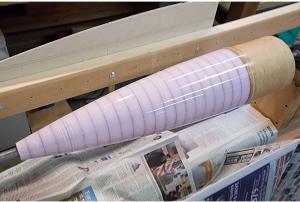
The fiberglass cloth has been applied. I covered the nosecone with 2 layers of cloth. I let the first layer set to green stage before applying the second layer. I use a disposable chip brush to apply the epoxy, position the strips, and work the epoxy into the fiberglass.
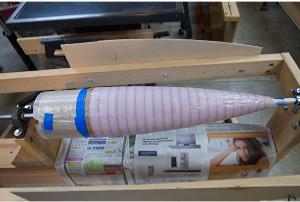
To sand the fiberglassed nosecone, the templates need to be offset by the thickness of the fiberglass layer. But rather than risk moving the templates, which could slip in the process and become mis-aligned, I simply added a thin shim to the sanding board.
Here is the nearly final result. The plug still needs a final sanding and will then be polished smooth. The final step will be to add a tip turned from basswood on my drill press.
After sanding, there will be some low spots, seen here as a darker color. Rather than continuing to sand, it is better to fill the low spots with another coat of epoxy. I use a little fused silica as a thickener. Then sand again. Be sure to fill any voids. I repeat this process until the plug is smooth.
I start with 50 grit. Once the plug is evenly smooth as evidenced by no more shiny spots after a light sanding, move to finer grits to produce a smooth surface.